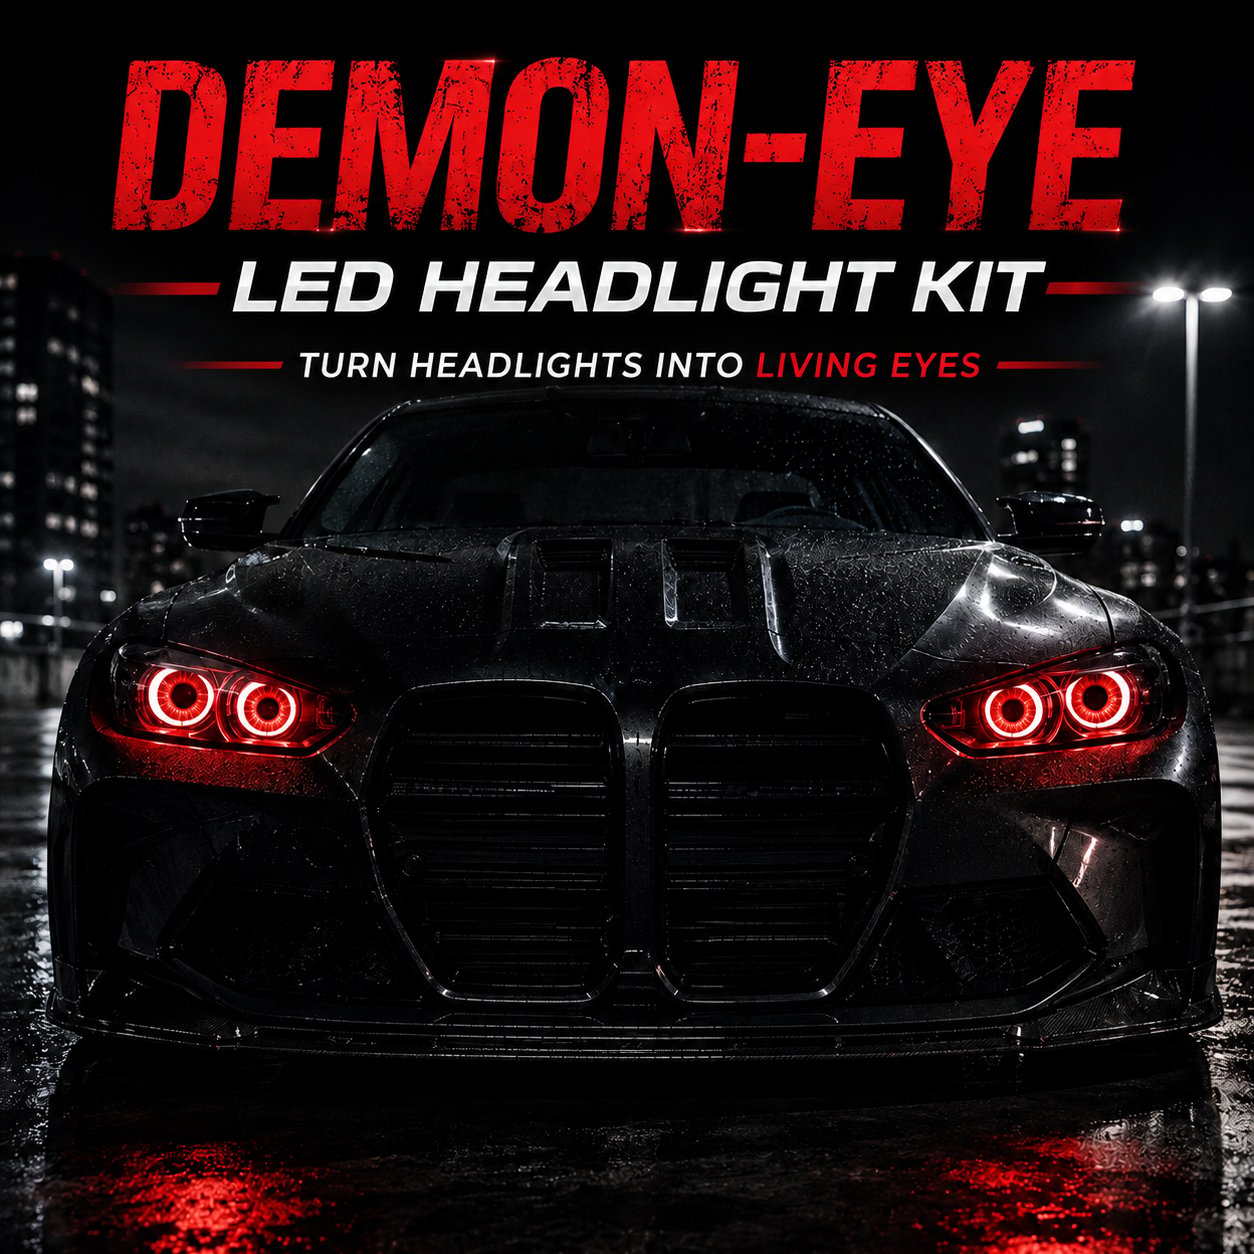
Turn Compatible Projector Headlights Into Animated Eyes
Add an expressive iris-style lighting effect with multiple RGB colors, animated modes and wireless control for compatible projector-style headlight housings.
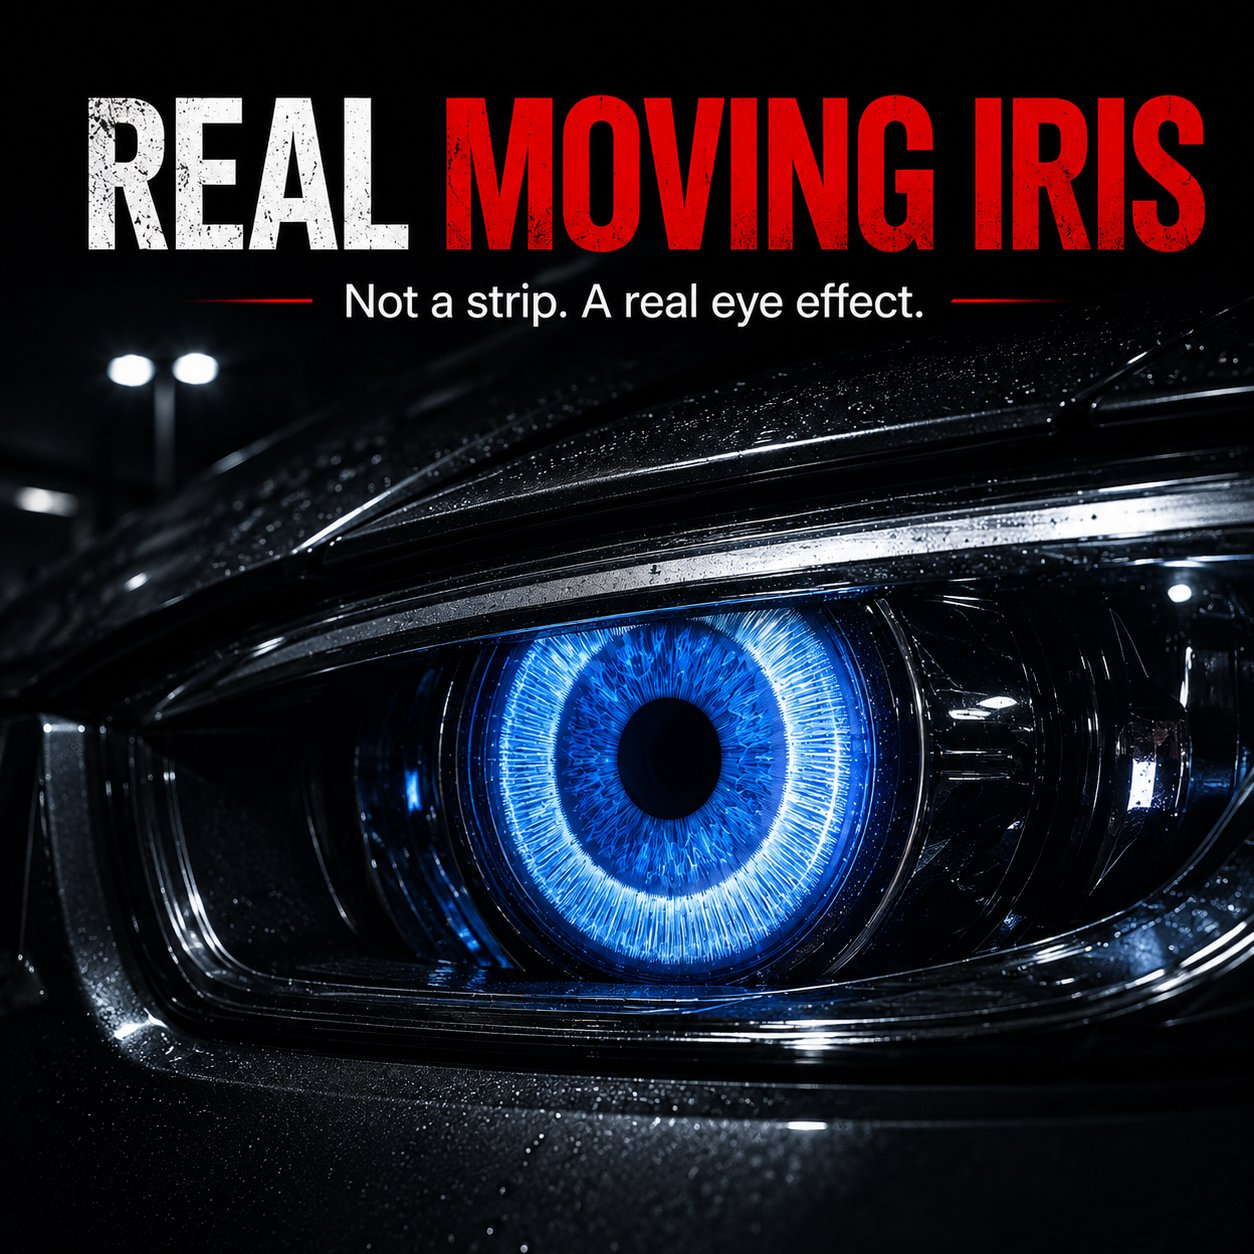
Animated Iris Effect
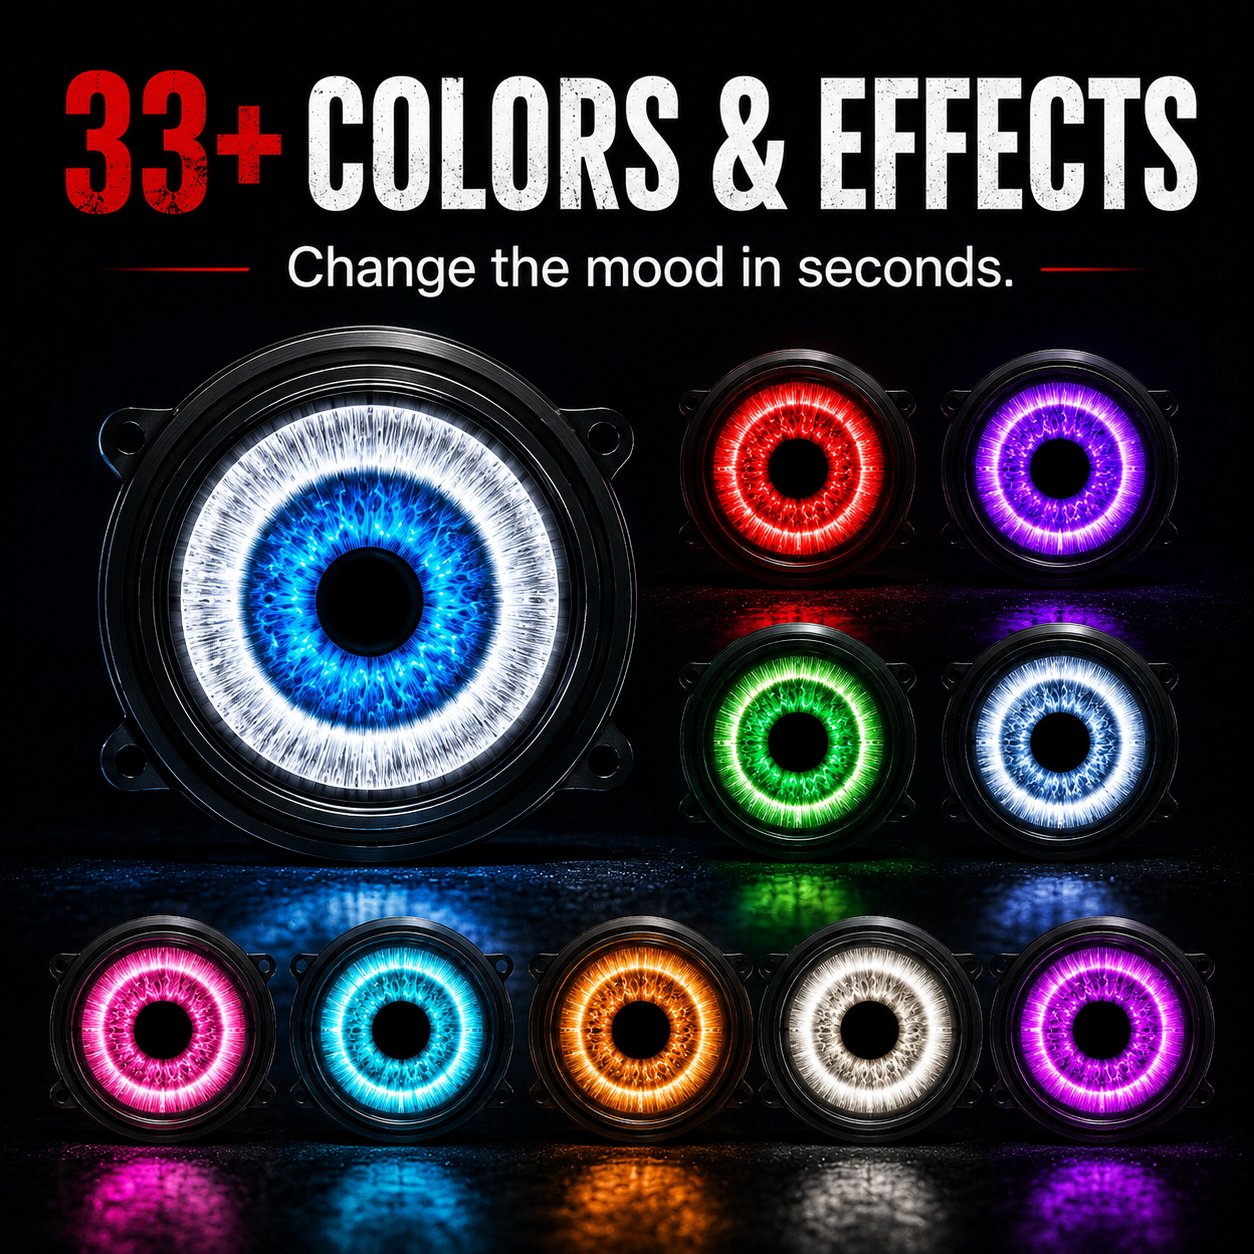
33+ Color and Effect Options
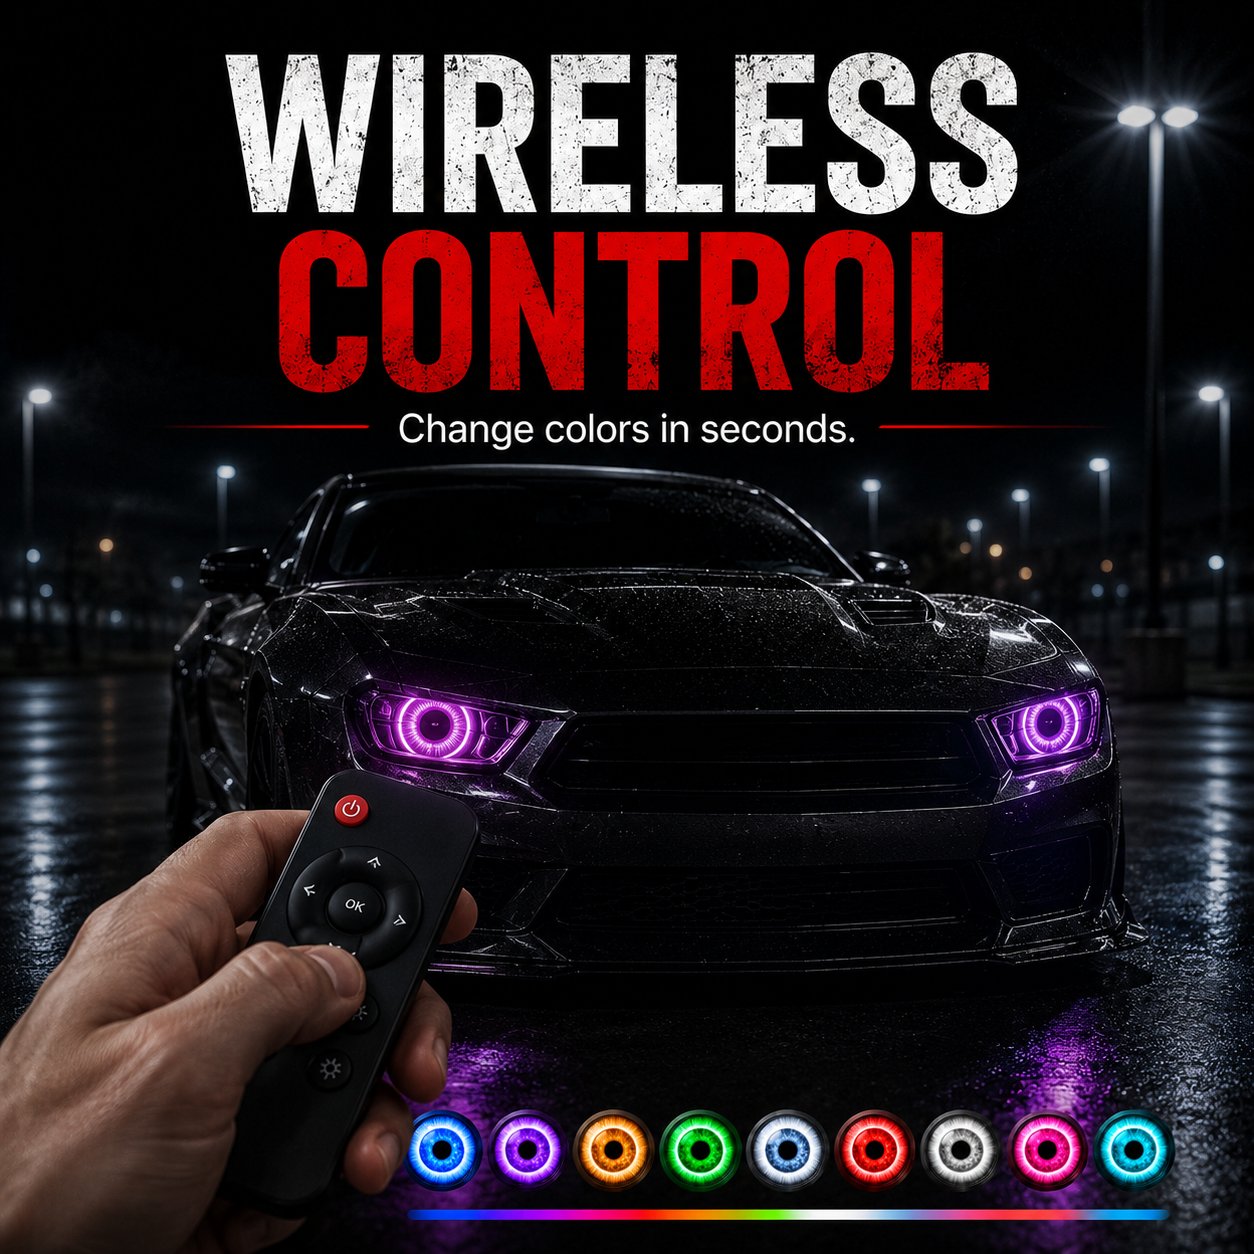
Wireless Remote Control
A More Distinctive Front-End Presence
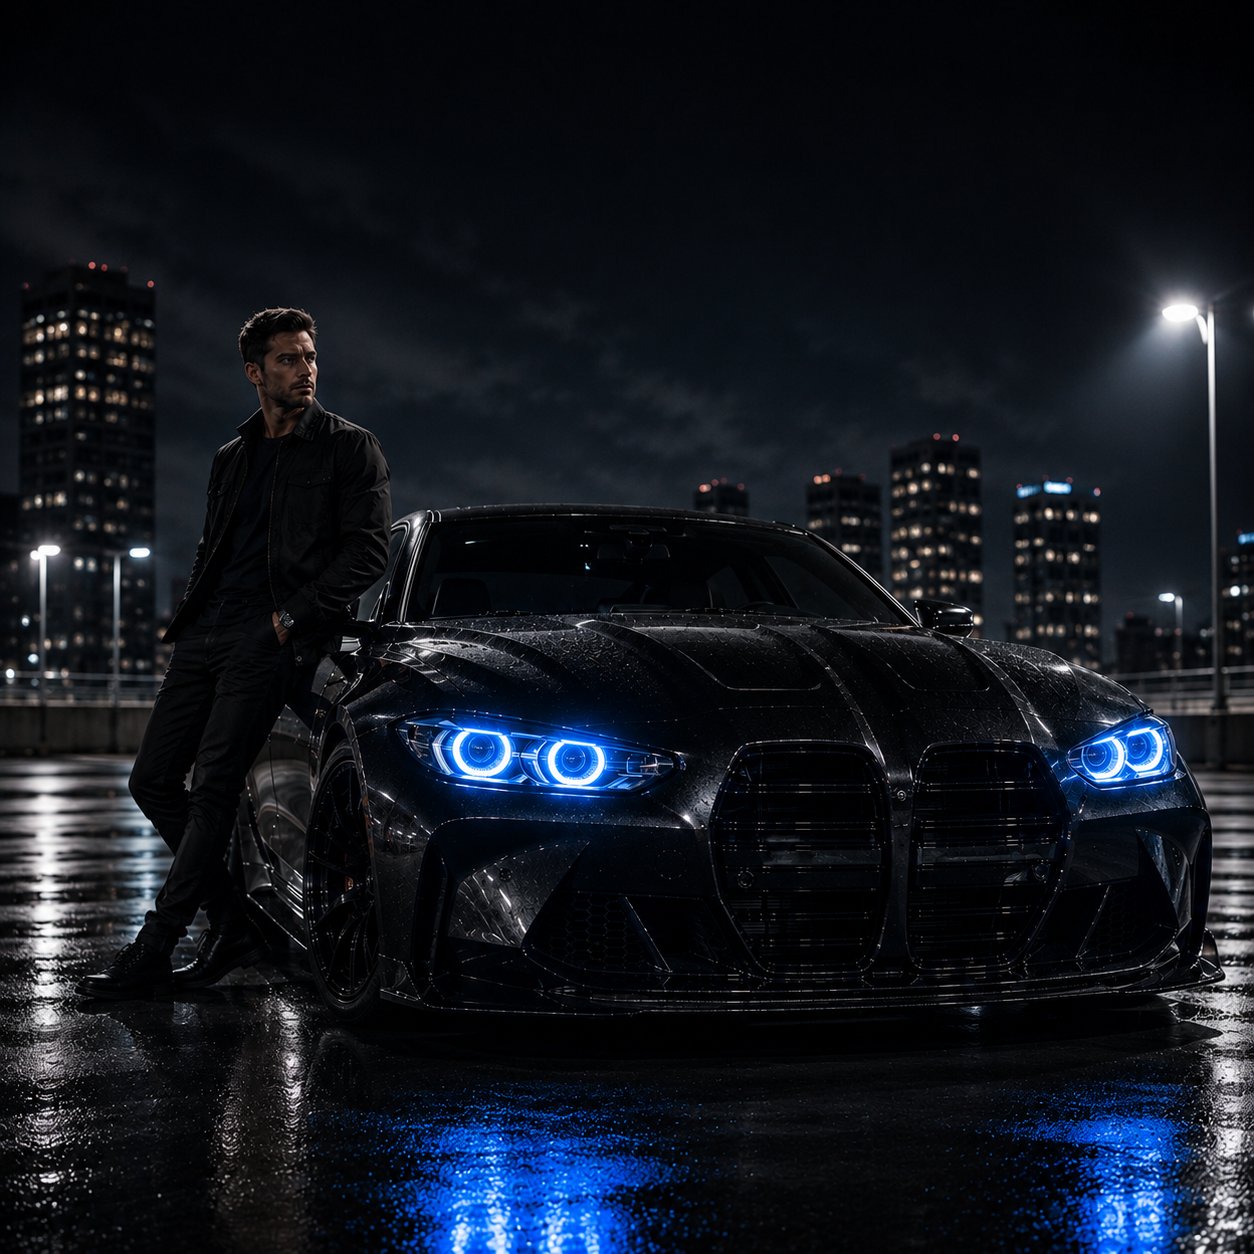
Designed for custom builds, parked displays, photography and car-meet presentations where a more expressive headlight appearance matters.
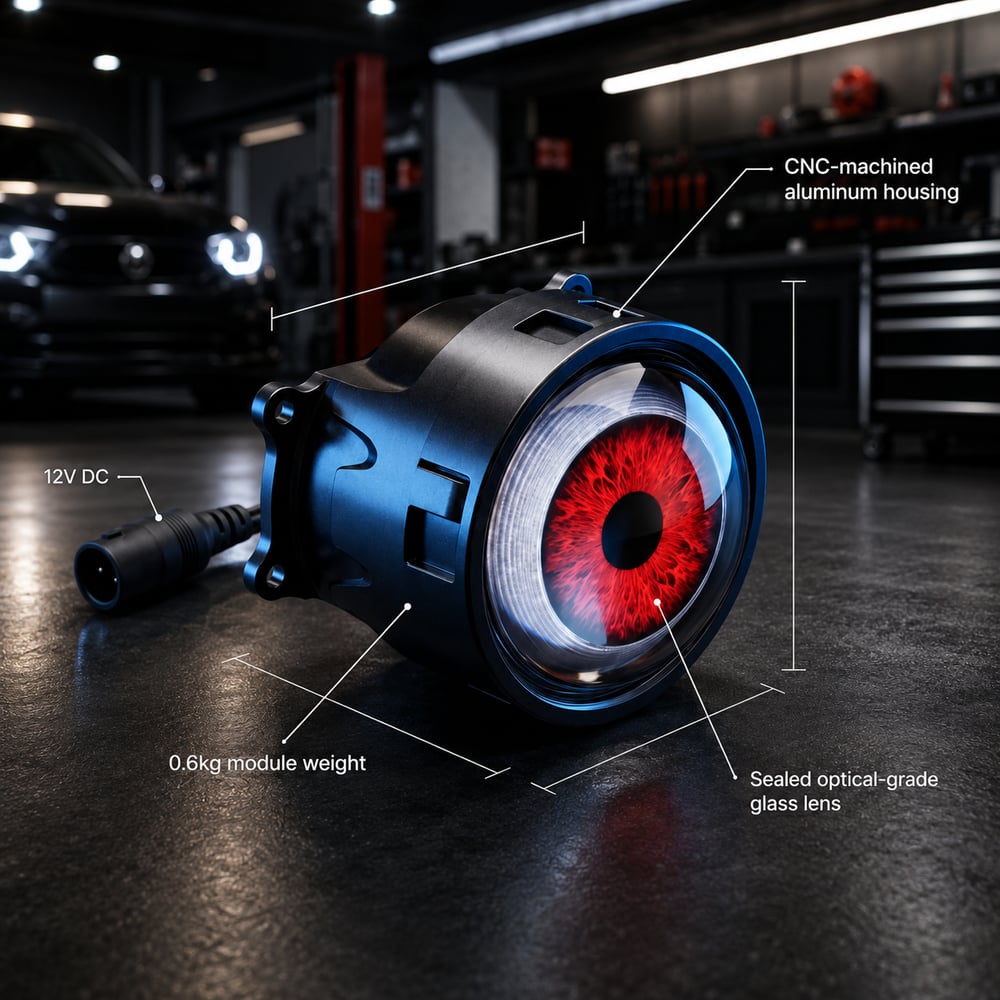
Animated Iris
Create a deeper eye-like effect inside a compatible projector housing.
Multiple Modes
Choose from available colors, animations and dynamic lighting effects.
Remote Control
Change the available color or effect without reopening the headlight housing.
Designed to be noticed. The illuminated iris adds a focused custom detail without covering the entire front end in additional lighting.
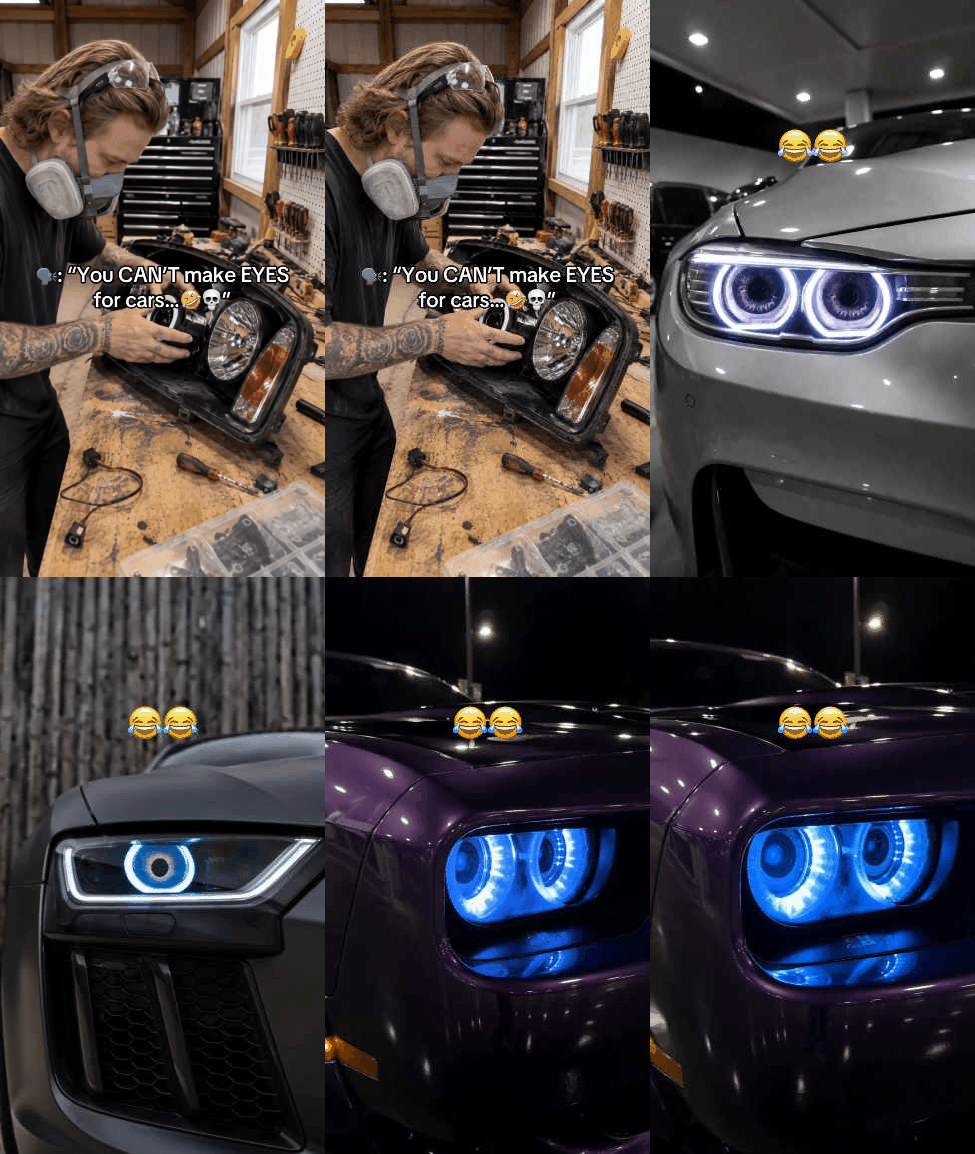
See the Installation and Final Effect
Watch the projector module being positioned, connected and tested before viewing the completed lighting effect.
Match the Lighting to Your Build
Select from the available red, blue, green, purple, white and other color or animation options for different display settings.
Color modes: Choose the available color that best complements your vehicle.
Dynamic effects: Select from the supplied animation and lighting options.
Display flexibility: Useful for parked display, photography and car-meet presentation.
Adjust the Look With the Included Remote
Once the system is installed, use the supplied wireless remote and control components to switch between available colors and lighting modes.
Wireless control: Change available colors and effects without reopening the housing.
Control components included: The supplied kit includes the listed remote and control components.
Installation matters: Final control response can vary according to wiring, placement and vehicle setup.
Verify Headlight Fitment Before Ordering
Vehicle brand alone does not determine compatibility. The headlight construction, projector opening and available internal space must also be checked.
Housing type: Intended for compatible projector-style headlight housings.
Internal clearance: Confirm there is enough room for the module, wiring and mounting position.
Electrical access: Wiring must be completed through a compatible vehicle lighting circuit.
Resealing: The headlight housing must be properly resealed after installation.
Professional fitment verification recommended
Confirm compatibility with an experienced automotive lighting installer when the available housing space or wiring requirements are unclear.
Installation Overview
Installation requires opening the headlight assembly, positioning the module, completing the wiring and resealing the housing.
1
Confirm fit and available housing space
2
Open the headlight assembly carefully
3
Mount, connect and test the module
4
Reseal and reinstall the headlight
Professional installation recommended
Incorrect wiring, poor alignment or inadequate resealing may cause lighting failure, moisture inside the housing or an uneven finished appearance.
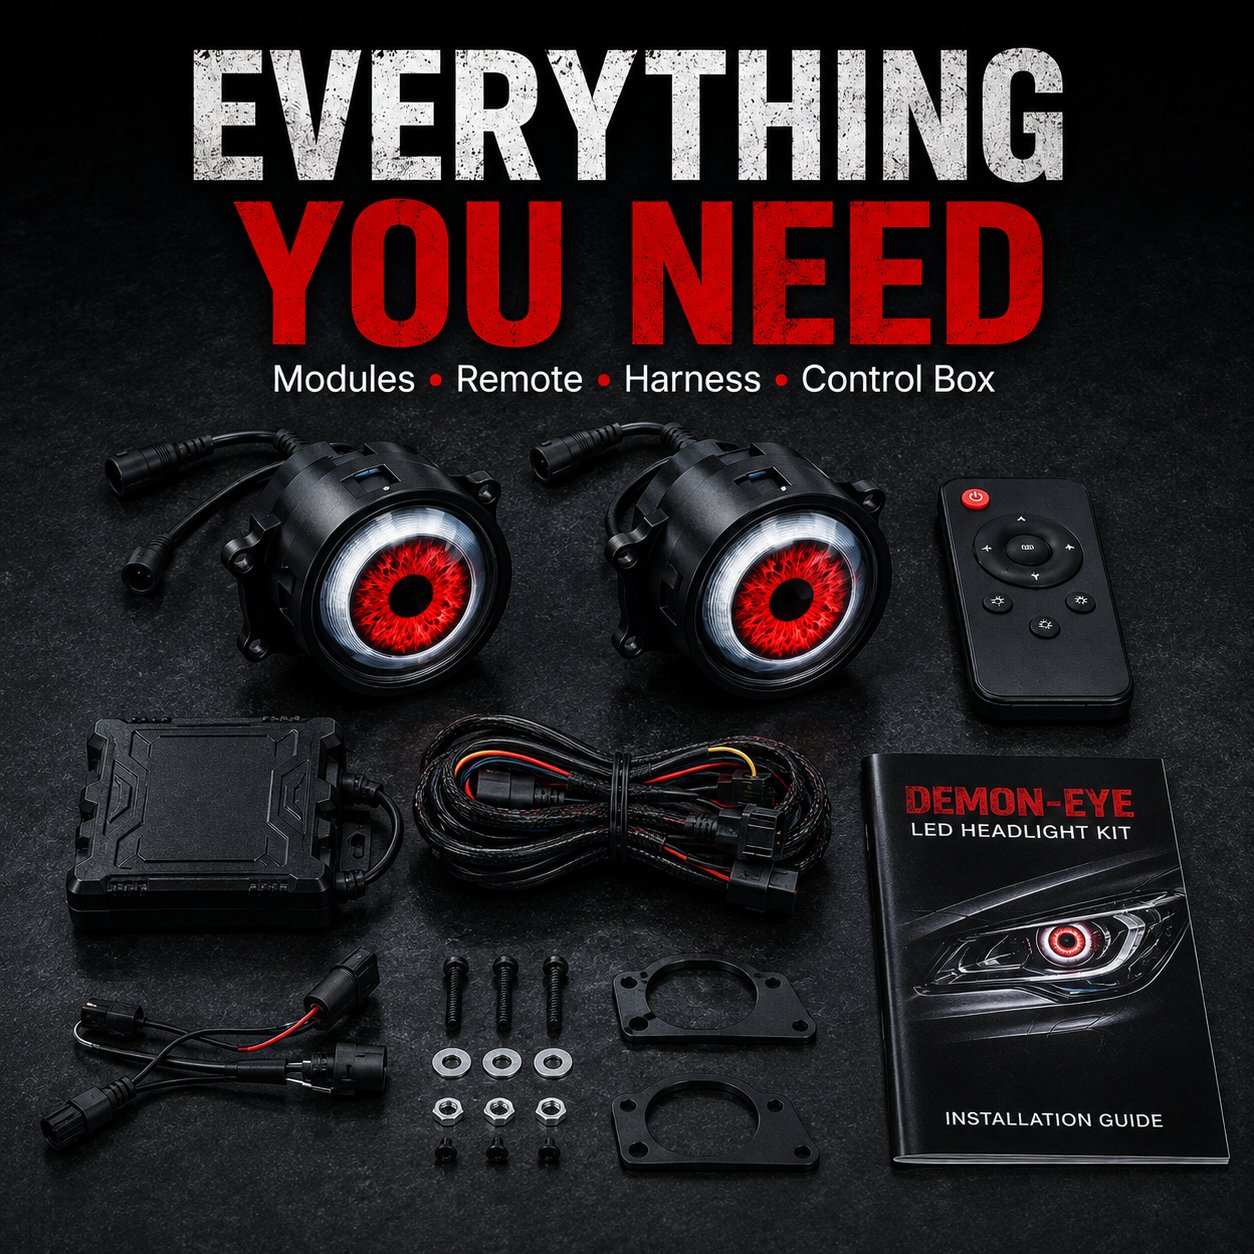
Package Contents
The supplied product details list the following components for the lighting installation.
Demon Eye iris modules
Wireless remote control
Control box
Labelled wiring harness
Mounting hardware
Installation guide
Product Details
Review the installation type and intended use before completing your purchase.
Fitment depends on the projector housing size, internal clearance, mounting position, wiring access and headlight construction. Verify compatibility before ordering.
Can every color be used on public roads?
Vehicle-lighting regulations vary by location. Certain colors, flashing patterns or animated effects may be restricted and may only be suitable for parked display, private property, photography or shows.
Does installation require opening the headlight?
Installation may require removing, opening, modifying and resealing the headlight assembly. Professional installation is recommended when you are not experienced with this work.
How is moisture kept out of the housing?
Moisture protection depends heavily on correct module placement, protected wiring and proper resealing of the headlight housing after installation.
What tools may be required?
Required tools vary by vehicle and headlight design. Installation may require automotive trim tools, wiring tools, controlled heat, compatible sealant and headlight retrofit experience.
Fitment, Wiring and Road-Use Notes
Verify projector housing compatibility and available internal space before ordering.
Do not allow the installation to obstruct required headlights, turn signals or safety lighting.
Incorrect wiring or poor resealing may cause electrical failure or moisture inside the headlight.
Check applicable vehicle-lighting regulations before using colored or animated effects on public roads.
Some effects may be intended for parked display, private property, photography, shows or car meets only.
Create a Headlight Look That Feels More Personal
Choose the lighting effect that complements your build, verify the available housing space and have the system installed and resealed correctly.
Actual lighting appearance may vary according to installation, camera exposure and screen settings. Local regulations determine which colors and lighting effects may be used on public roads.